Inspection should be part of your routine before every trip; by checking brakes, tires pressure and tread, lights and fluid levels you reduce the risk of roadside failures and serious hazards. You should watch for warning signs like noises, leaks or dashboard alerts and address them immediately to keep your vehicle reliable and protect your passengers.
Key Takeaways:
- Perform a pre-trip inspection: check tire pressure and tread, brake function, lights, turn signals, horn, and windshield wipers.
- Verify fluid levels and battery condition: engine oil, coolant, brake fluid, washer fluid, and clean/secure battery terminals.
- Confirm occupant and load safety: seatbelts, mirrors, secured cargo, spare tire/jack, and an accessible emergency kit.
Importance of Vehicle Inspections
Regular inspections cut small faults before they escalate: check tire pressure monthly, verify tread depth with the penny test (replace below 2/32″), and scan for fluid leaks around the engine. You’ll reduce the chance of a roadside emergency, avoid accelerated wear, and keep insurance claims lower by addressing issues early. Even simple checks-like ensuring your spare is properly inflated-drop the likelihood of being stranded after a flat.
Enhancing Safety
When you verify brakes, lights, and steering components, you directly lower collision risk: replace brake pads under 3 mm, confirm headlights are aimed correctly, and test turn signals and horn before night trips. Inspecting wiper blades and washer fluid before seasonal weather prevents visibility failures. Practical checks-such as confirming ABS and airbag warning lights are off-protect you and your passengers on every drive.
Preventing Breakdowns
Checking belts, hoses, battery health, and fluids prevents most roadside failures: test the battery voltage or swap every 3-5 years, inspect hoses for swelling or cracks, and top coolant and oil monthly. You’ll avoid being stranded and the high cost of towing or emergency repairs by catching wear early. Keep a compact toolkit and a properly inflated spare to turn a likely tow into a quick fix.
A failing serpentine belt or leaking coolant often precedes major failures; serpentine belts commonly wear out around 60,000-100,000 miles, and signs include squealing, fraying, or visible cracking. If a belt breaks, you can lose the alternator, power steering, and water pump, causing immediate overheating and potential engine damage. Schedule belt replacements per manufacturer intervals, pressure-test the cooling system annually, and carry jumper cables and a coolant bottle to mitigate common failure modes.
Key Components of a Vehicle Inspection
Tires and Wheels
You should check tire pressure monthly and before long trips, inflating to the vehicle’s recommended PSI (often 30-35 psi). Measure tread depth: legal minimum is 2/32″, but replace at 4/32″ for better wet traction. Inspect for sidewall cuts, bulges, uneven wear (sign of alignment or suspension issues), and verify lug nuts are tight to spec; a loose wheel or blown tire at highway speeds is a major hazard.
Brakes and Steering
Test brake pedal firmness and listen for squeal or grinding-pad thickness under 3 mm (about 1/8″) means replace. If the vehicle pulls, the pedal sinks, or the ABS light is on, you face increased stopping risk. Check for vibrations during braking (warped rotors) and any steering play or clunking that indicates worn tie rods or rack components.
Also inspect brake fluid level and color; dark fluid or level below the “MIN” mark points to contamination or leaks. Most manufacturers recommend flushing fluid every 2 years. For steering, verify power-steering fluid (if applicable), belt condition, and that turning from lock-to-lock is smooth-excessive free play or knocking under load often means urgent repair is needed to maintain control.
Lights and Signals
Confirm all exterior lights work: low/high beams, turn signals, brake lights, hazard lights, and reverse lamps. Replace burned bulbs and check fuses; a non-functioning brake or turn signal sharply increases collision risk. Inspect lenses for cracks or clouding and ensure headlight aim keeps the beam on the road without blinding oncoming drivers-check lights at least monthly and before night driving.
Clean cloudy lenses and replace bulbs in pairs to avoid mismatched output; LEDs and halogens age differently. Rapid turn-signal blinking usually indicates a failed bulb. For headlight aim, a simple wall test from about 25 feet helps spot misalignment; improper aim reduces visibility and can blind others, so adjust or service as needed.
Conducting a Safety Check
Perform a systematic walkaround before you drive: scan for fluid leaks under the engine and around the radiator, using a flashlight to spot fresh oil (dark brown/black) or coolant (green/orange); any wet spot beneath the vehicle within 24 hours of parking signals a potential failure. Also probe hoses and belts for cracks or fraying, and tug visible fasteners-if a wheel nut or mount looks loose, do not drive until it’s tightened.
Visual Inspection
Inspect tires for bulges, cuts, uneven wear and check tread depth with a 2/32″ legal minimum in mind (aim for 4/32″ for wet conditions). Confirm lights and lenses are clear and not cracked, look for windshield chips over 6 mm that can spread, and ensure mirrors and wipers are intact; a torn wiper blade or clouded headlight lens directly reduces visibility and increases collision risk.
Functional Tests
Operate lights, turn signals, horn, wipers, and heater/defroster to verify function; have a helper confirm brake lights or back up to a wall ~25 feet away to check beam and brake light response. In a safe area, apply the brakes at low speed to sense for pulling, noise, or a spongy pedal, any of which indicates service is needed before a long trip.
When testing brakes, also watch the dash for the ABS or brake warning lights-if illuminated, do not ignore them. Check brake fluid level against the reservoir’s min/max marks and test the parking brake for firm engagement. For steering and suspension, push down on each corner to confirm one or two steady rebounds; excessive free play in the steering wheel or persistent pulling under braking demands immediate inspection.
Common Issues Found During Inspections
During routine checks you’ll most often encounter worn tires, degraded brakes, and various fluid leaks; these problems directly affect stopping distance and control. For example, tread under 2/32 inch is considered unsafe and often illegal, while brake pads below 3 mm sharply reduce braking performance. You should log and address any abnormal noises, vibrations, or visible stains immediately to avoid escalation into roadside failures.
Tire Problems
You’ll see low pressure, uneven wear, sidewall bulges, and tread below safe limits as common tire issues; inflate to the vehicle placard psi (often ~32-36 psi) and measure tread with a gauge-under 2/32 inch requires replacement. Uneven wear across the tread usually signals alignment, suspension, or improper inflation, and a visible bulge or deep cut is a high-risk failure that mandates immediate removal from service.
Brake Wear
You’ll notice thinning pads, scored rotors, brake pulsation, or a longer stopping distance during inspections; pads typically wear out between 30,000-70,000 miles depending on driving conditions. Squealing often indicates wear indicators contacting the rotor, while grinding means metal-on-metal contact and immediate attention to prevent further damage and safety loss.
When you inspect more closely, measure pad thickness-replace at or below 3 mm (about 1/8 inch)-and check rotor runout and surface condition. Use a micrometer or caliper for rotor thickness and compare to the manufacturer minimum; resurfacing can be economical if within spec, but deep grooves or cracking require rotor replacement. Document mileage at replacement and track patterns to adjust maintenance intervals for your vehicle or fleet.
Fluid Leaks
You’ll find leaks from engine oil, coolant, transmission, power steering, or brake systems as frequent issues-each has distinct color and smell: oil is brown/black, coolant often green/orange/pink with a sweet scent, and transmission fluid is usually red. Small drips can mean loose fittings, while puddles under the vehicle often indicate a more severe failure; any brake fluid leak is an immediate safety hazard.
To pinpoint leaks, inspect hoses, clamps, gasket seals, and the oil pan area, and check dipsticks and reservoirs for low levels. UV dye testing and pressure testing (cooling system) help locate hidden leaks. Address gasket failures, cracked hoses, or corroded fittings promptly-repair times range from minor clamp replacements (30-60 minutes) to gasket jobs that can take several hours depending on access and vehicle layout.
Frequency of Inspections
You should perform a quick visual check before every trip-confirm tire pressure, lights, and visible fluid leaks-and a more thorough inspection monthly (tires, fluids, battery terminals). Schedule a detailed service with a technician every 6-12 months or per your owner’s manual; many fleets use 6,000-8,000 mile intervals. For a printable checklist and training aid see Safety Talk – Vehicle Inspections.
Regular Maintenance Schedule
Follow the manufacturer’s recommended intervals: oil and filter often every 5,000-7,500 miles for modern vehicles, tire rotation every 6,000-8,000 miles, and brake inspections at least annually or every 12,000 miles. You should also test the battery every 12 months and replace wipers yearly. Staying on schedule prevents wear from compounding and reduces the chance of sudden failures while you’re on the road.
Seasonal Checks
Adjust inspections by season: before winter, verify antifreeze mix, battery health, and consider winter tires when temps stay below ~45°F; before summer, check cooling system, A/C performance, and belts. Inspect wipers and lights in spring and fall, and top off washer fluid. Prioritize tire tread, battery condition, and coolant levels to maintain safe operation across temperature extremes.
In cold weather, tire pressure typically falls about 1 psi for every 10°F drop, so you should recheck pressures as temperatures change and switch to winter tires below ~45°F for better grip; a 50/50 coolant mix protects to roughly -34°F and should be tested if older than two years. Heat stresses hoses and belts, so inspect for cracking before summer; low A/C performance often signals low refrigerant or a clogged condenser. Addressing these seasonal specifics reduces the risk of reduced traction and battery failure when conditions are worst.
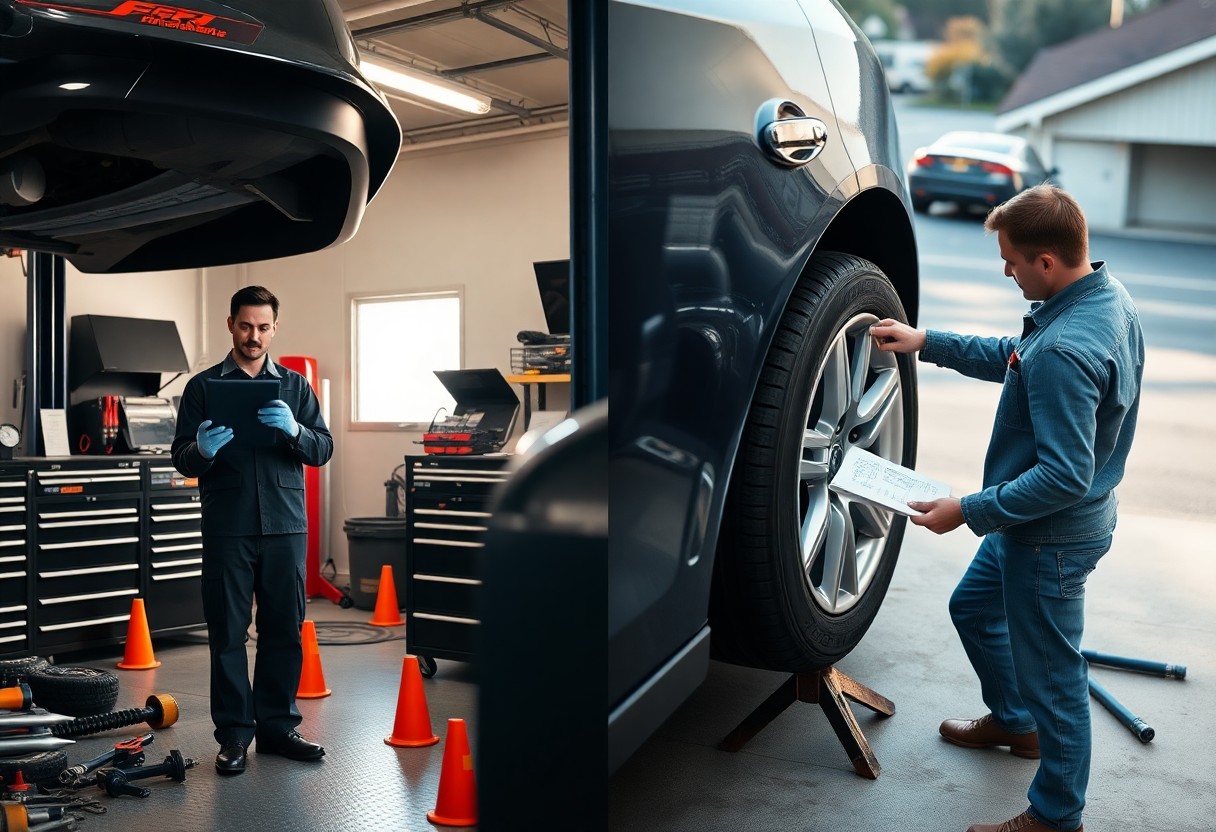
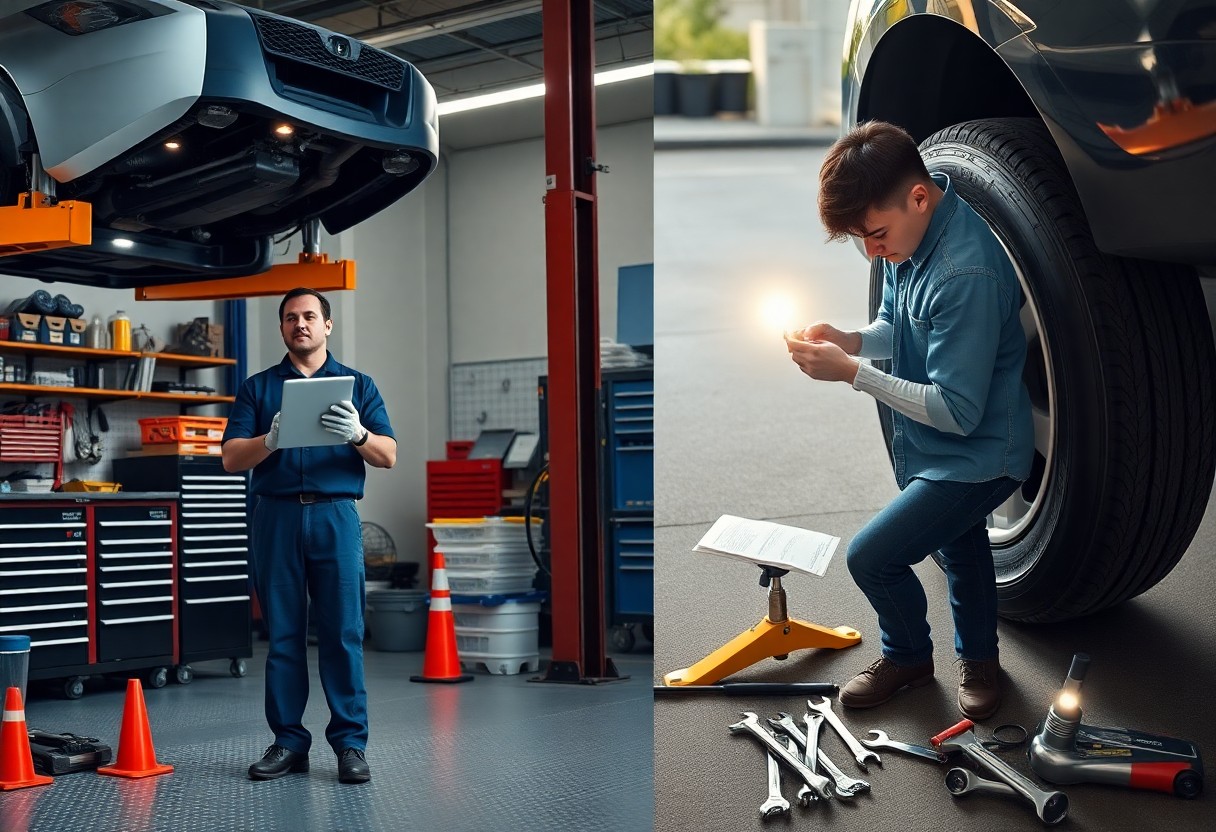
Professional vs. DIY Inspections
When deciding between pros and your own checks, weigh the trade-offs: shops with ASE-certified techs typically run a 50+ point inspection, use OBD-II scans and torque tools, and often catch hidden issues like worn suspension links or hairline cracks that you might miss; inspections usually take 30-90 minutes and cost about $60-$150. You gain documented service records and warranty protection, while DIY saves money and gets you hands-on familiarity with safety-critical items.
Benefits of Professional Inspections
Certified technicians use calibrated gauges and shop lifts to measure things you can’t easily see, such as rotor runout, belt tension, and exhaust leaks; shops commonly detect 20-30% more defects than casual checks. You also receive a prioritized repair list, cost estimates, and often a written safety report that helps when tracking recurring problems or reselling the vehicle.
How to Perform DIY Checks
You can cover high-impact checks in 15-30 minutes: verify tire pressure to the placard PSI with a gauge, use the penny test for tread (Lincoln’s head visible = ≤2/32″), confirm all lights and signals, inspect brake pad thickness visually (pads ≤3 mm need attention), scan for visible fluid leaks, and test battery terminals for corrosion. Keep a basic tool kit, a tire gauge, and a cheap OBD-II reader on hand.
For deeper DIY work, use a digital multimeter to check resting battery voltage (~12.6 V healthy), a tread depth gauge for precise measurement, and an OBD-II code reader (~$20-$50) to pull fault codes like P0300 (misfire). When jacking the car, secure it with rated jack stands and follow the owner’s torque specs; if you find grease on brake pads or sudden metal shavings, stop and consult a pro.
To wrap up
From above, regular vehicle inspections keep you safer by revealing worn parts, fluid leaks, faulty lights, brake concerns, tire issues, and steering problems before they become failures. You should perform quick pre-trip checks, schedule thorough inspections, log findings, and address defects promptly. Making inspections a routine reduces breakdowns, lowers repair costs, and helps you maintain reliable, roadworthy transportation.
FAQ
Q: What are the important steps in a pre-trip vehicle inspection?
A: Start with a methodical walk-around: check tires (pressure, tread, sidewalls), wheels and lug nuts for damage or looseness, and any fluid leaks under the vehicle. Inspect lights and reflectors (headlights, taillights, brake lights, turn signals), mirrors, windshield and wipers, and glass for cracks or obstructions. Under the hood, verify fluid levels (engine oil, coolant, brake fluid, power steering, washer fluid), battery condition and connections, belts and hoses for wear or damage. In-cab checks: test gauges, warning lights, horn, seat belts, heater/defroster, and emergency exits. Test brakes and steering during a short low-speed drive to detect pulling, vibrations, or unusual noises. Secure cargo and check tie-downs. Document findings on a checklist and capture photos of any defects before operation.
Q: How often should vehicle inspections be completed and recorded?
A: Conduct inspections before each shift or trip for commercial operations and before long drives or heavy loads for personal vehicles. Perform a brief post-trip check to identify issues that arose during use. Schedule more detailed inspections weekly or according to manufacturer and company maintenance intervals, and after any collision, severe weather exposure, or significant repair. Record every inspection using a standardized checklist-either paper or digital-include date, time, odometer, inspector name, and signatures or electronic confirmation. Keep records per company policy and regulatory requirements to support maintenance history and compliance audits.
Q: What steps should be taken if a defect or safety hazard is discovered during inspection?
A: Immediately stop using the vehicle if the defect affects brakes, steering, tires, lights, or structural integrity. Secure the vehicle and place warning devices if it must remain on the road. Tag the vehicle out of service and notify the supervisor or maintenance department, providing a clear description and photos of the defect. Record the defect on the inspection form, note any temporary controls applied (wheel chocks, reduced speed restrictions), and arrange repairs with qualified personnel. Do not return the vehicle to service until repairs are completed and verified; retain repair documentation and sign-off for the vehicle’s maintenance record. Foster a non-punitive reporting environment so operators report hazards promptly.