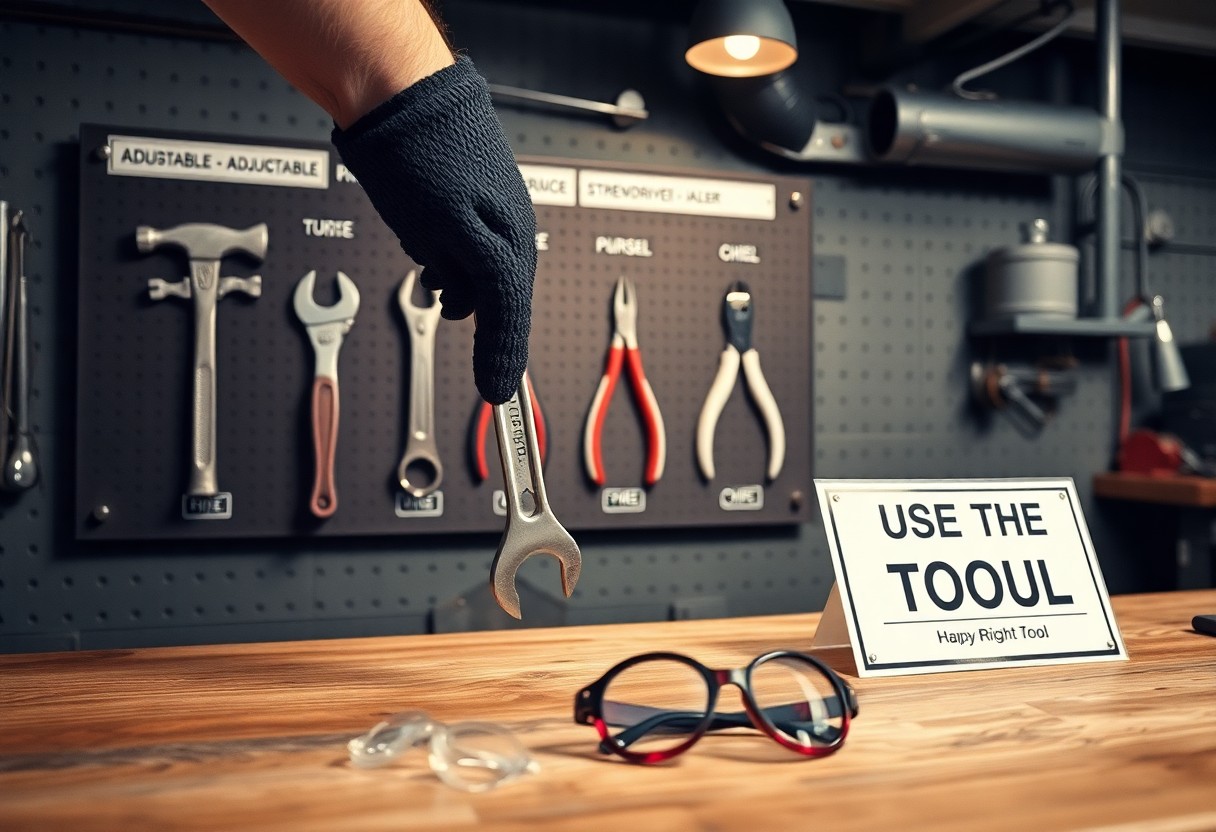
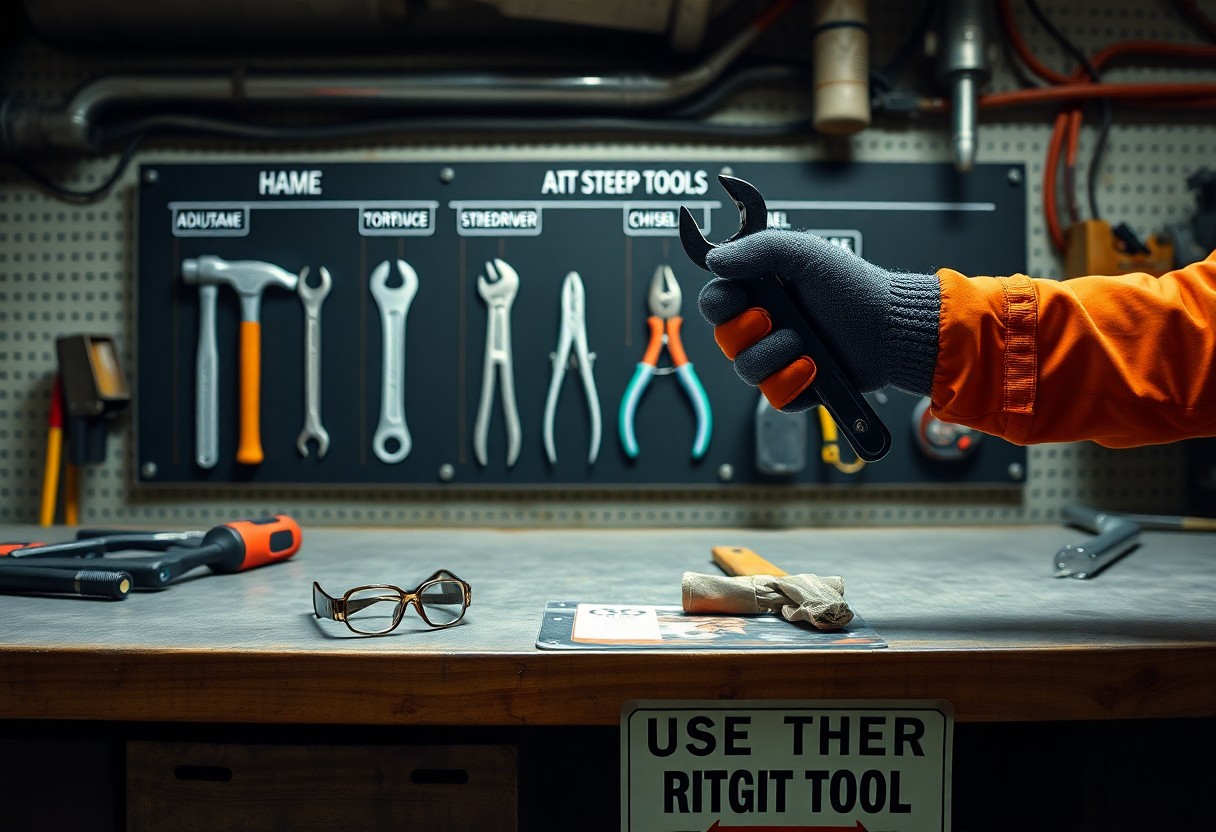
There’s a clear rule: when you choose and use hand tools, using the wrong tool can cause serious injury or damage, so you must inspect tools, match tool to task, and maintain grips and guards. By selecting the correct tool and working with care, you reduce the risk of cuts, pinch injuries, and tool failure and improve efficiency and control.
Key Takeaways:
- Choose the right tool for the task and never use tools for purposes they weren’t designed for.
- Inspect tools before use and remove any with loose handles, chips, cracks, or excessive wear.
- Use proper technique and PPE-secure the workpiece, maintain control and sharp edges, and store tools safely.
Importance of Using the Right Tool
When you match the tool to the task, you prevent common failures and hazards: using a #2 Phillips on a #8 screw or a 3/8″ drive on a 3/8″ bolt stops stripped heads and slippage, while replacing a cracked hammer handle avoids sudden breakage. Small choices-proper bit size, sharp chisel, correct wrench-turn a risky, longer job into a safer, faster one, cutting chances of broken handles and time-consuming rework.
Preventing Injuries
You reduce lacerations, punctures, and sprains by picking tools designed for the work: use a cable cutter for wire instead of pliers, a utility knife only with a firm cap, and insulated screwdrivers for live circuits. Inspect grips and blades before use and remove tools with pinch points or worn edges; that simple habit lowers the likelihood of eye injuries and crushed fingers during routine tasks.
Enhancing Efficiency
You increase speed and consistency when tools fit the job: a correctly sized socket prevents rounded fasteners and saves rework, and a torque wrench set to spec avoids over- or under-tightening. On repetitive work, a powered screwdriver or the right ratchet delivers faster completion, reduced fatigue, and less rework, especially when you standardize bits and torque settings across the crew.
For example, a 400-500 RPM powered torque screwdriver can cut per-screw time from roughly 8-12 seconds to 1-3 seconds; across a 1,000-piece run that saves hours and significantly lowers cumulative hand strain. Likewise, swapping a short ratchet for a long-handle breaker bar improves leverage so you avoid repeated attempts, and standardizing sizes and torque values measurably reduces assembly errors and rework rates.
Types of Hand Tools
You face a wide range of hand tools-each category demands specific handling, from cutting tools with razor edges to levers and grips that transmit high force. Match tool design to the task, check fit and condition, and replace worn parts; using the wrong size driver or a dull blade increases slip risk and strain. Any misuse of hand tools raises the likelihood of cuts, pinches, or mechanical failure.
| Cutting Tools | Knives, chisels, handsaws – hazards: sharp edges, kickback |
| Fastening Tools | Screwdrivers, ratchets, torque wrenches – hazards: cam-out, pinch points |
| Striking Tools | Hammers, mallets – hazards: flying fragments, rebound; inspect heads and handles |
| Measuring & Layout | Tape measures, squares, levels – hazards: cuts from sharp edges, tripping over tapes |
| Pliers & Wrenches | Slip-joint, locking pliers, adjustable wrenches – hazards: pinch points, rounded fasteners |
- Use the right-size tool for the fastener or cut
- Keep cutting tools sharp to reduce force and slips
- Inspect for damage before each use
- Wear appropriate PPE for the task
Cutting Tools
You rely on cutting tools like utility knives, handsaws, tin snips and chisels; choose the correct blade for the material and maintain a sharp edge to minimize force and control the cut. When sawing, clamp the work and use steady, even strokes; when using knives, cut away from your body and store blades safely. Replace nicked or mushroomed edges-dull blades increase slip risk and require more force.
Fastening Tools
You use fastening tools such as screwdrivers, nut drivers, impact drivers and torque wrenches; match tip/profile and size to the fastener to prevent cam-out and stripped heads. Apply controlled pressure and keep the tool aligned with the fastener, and for power tools select the correct bit retention to avoid slips and eye hazards.
When you torque critical joints, set a calibrated torque wrench to the specified value-over-torquing can shear bolts and under-torquing allows loosening and failures. For repetitive fastening, pick ergonomic handles and use extension holders or magnetic bit tips to improve control and reduce hand fatigue; inspect bits and sockets for wear and replace them when rounded or chipped to maintain secure engagement.
Identifying the Right Tool for the Job
When you size up a task, match the tool to the fastener and force required: choose a Phillips #2 for drywall and most wood screws, a slotted 1/4″ for flat heads, 10 mm or 13 mm wrenches for common automotive bolts, a 16 oz hammer for finish work and 22 oz for framing. Using the wrong tool increases slip and wear, and can lead to lacerations or joint strain, so always verify fit and rated capacity before you begin.
Assessing the Task
First identify fastener type, material, and access: measure bolt heads or screw slots with a caliper or ruler, note confined spaces, and estimate torque needs – electronics often require <1 N·m, while general maintenance ranges from tens to hundreds of N·m. Then factor in environment (wet, oily, live electrical) and expected force direction so you select a tool that fits the geometry and the workload without improvisation.
Tool Selection Criteria
Prioritize fit, condition, and rating: the correct drive size, undamaged tips and jaws, comfortable grip and adequate leverage are necessary. For electrical work choose tools insulated and tested to 1,000 V; for torque-critical fasteners use a calibrated torque wrench. Ergonomics matter too – picks or handles that reduce force by 20-30% lower fatigue and error. Always confirm the tool’s maximum capacity matches the task.
Inspect tools before use: check for cracked handles, mushroomed hammer faces, or rounded wrench jaws and discard or tag defective items. If a procedure specifies 40 N·m, use a torque wrench rather than adding a cheater bar – forcing tools often damages fasteners and creates hazards. Practical examples: using adjustable pliers on a 13 mm hex commonly rounds the head and stalls work, while the right 13 mm box wrench preserves the fastener and saves time.
Proper Tool Handling Techniques
Handle tools with deliberate technique: use the correct grip, control, and angle to limit slips and strain. For example, a typical claw hammer weighs 16-20 oz; use a full-handed swing and secure footing. Avoid using a screwdriver as a prybar – a wrong-size driver can cam out and cause puncture injuries. Visit Weekly Safety Meeting – Using Hand Tools Safely for meeting plans and drills.
Grip and Control
You should maintain a firm, controlled grip-preferably full-hand-keeping your wrist neutral to reduce fatigue and loss of control. When turning fasteners, match the screwdriver or bit to the screw head to avoid cam-outs; for chisels and punches, brace the tool and strike with a hammer head sized for the tool (e.g., 16-24 oz for general work). Start slow and apply steady pressure to prevent sudden slips.
Body Positioning
Position your body so the tool, workpiece, and your dominant hand form a straight line-feet shoulder-width (about 18-24 inches) and knees slightly bent improve balance. Keep the work within your neutral reach (about 30°) to maintain control; if you must overreach, stop and reposition or clamp the piece first. Overreaching increases the chance of losing control and suffering a serious hand injury.
For overhead or awkward jobs, use platforms or adjustable stools to bring the work into your neutral zone and avoid sustained shoulder elevation, which raises fatigue and error risk. Step into cutting or prying motions so your legs supply force-not your back-keeping your spine aligned and reducing slip potential. Whenever possible, clamp small parts instead of holding them by hand when applying force.
Maintenance and Care of Hand Tools
Regular Inspections
Set a routine to inspect tools at least weekly and before every critical use; you should check for split handles, loose heads, mushroomed striking faces, chipped blades, and frayed insulation on electrical tools. Run a quick 5-point check-handle, head, edge, fasteners, and grip-and tag anything defective for repair or replacement. If you find a loose hammer head or a wrench with rounded jaws, remove it from service immediately to prevent impact or slippage injuries.
Cleaning and Storage
Wipe tools after use to remove dirt, sap, and solvents, then apply a thin film of oil to metal surfaces to prevent rust; you should keep handles free of grease to avoid oily grips that cause slips. Store tools on pegboards, labeled trays, or foam-lined drawers to prevent banging and corrosion, and place silica-gel packs in metal chests when humidity exceeds 50%.
For deeper cleaning, soak blades with hardened grime in a degreaser for 10-30 minutes, scrub with a brass brush, then dry thoroughly before oiling; use a wire-wheel for surface rust and follow with a light coat of 3-in-1 oil or paste wax for long-term protection. Hang striking tools by heads (not handles), keep cutting edges sheathed, and rotate stock so frequently used items stay serviceable-this reduces unexpected failures and keeps your toolroom organized and safer.
Common Mistakes in Hand Tool Usage
Small errors compound into accidents: you might grab the closest implement or force a tool beyond its design, and that choice often leads to damage and injuries. Improper fits, worn edges, and makeshift fixes cause stripped heads, snapped handles, and puncture wounds; thousands of hand-tool injuries are reported each year. You should keep to weekly inspections and correct selections to reduce these common failures.
Misuse of Tools
You increase risk when you use tools for unintended tasks: using a screwdriver as a chisel or pliers as a wrench commonly rounds fasteners, chips metal, and produces hand lacerations. For example, an adjustable wrench used where a box-end would fit often slips under 50-100 ft·lb of torque. You must swap to the proper tool, replace worn tips, and avoid improvised leverage to prevent breakage and injuries.
Lack of Awareness
You expose yourself to preventable hazards when complacency, poor lighting, or distractions take over; failing to check a tool’s condition before use lets hidden cracks or loose grips escalate into failures. In dim conditions a slip is far more likely, and workers who skip the pre-use look-over miss frayed handles and mushroomed hammer heads. Stay alert and inspect tools to avoid surprise failures.
To address awareness gaps, implement brief, repeatable measures: have each worker perform a 60‑second visual and functional check before using a tool, mark sizes clearly on sockets and wrenches, and run short toolbox talks on common misuses. You should track findings on a simple checklist and replace or tag out defective tools immediately; these small controls cut errors and reinforce safer habits.
To wrap up
Hence you must always select the correct hand tool for the job, inspect it before use, wear appropriate PPE, and use proper technique to avoid slips and strain. If a tool is damaged or doesn’t fit the task, stop work and report it. Consistent care, correct storage, and training keep you safer and more effective.
FAQ
Q: How do I select the correct hand tool for a specific task?
A: Match the tool to the task by type, size and capacity: use the correct wrench size and style for fasteners, choose a screwdriver with the right tip profile and fit, pick pliers or cutters rated for the material and thickness. Check manufacturer ratings for torque or cutting capacity and use insulated tools for live electrical work. Avoid improvised solutions (chisels used as pry bars, hammers used as wrenches) and never modify a tool to make it fit. Consider ergonomics-handle shape, grip material and weight-to reduce fatigue and maintain control.
Q: What inspection and maintenance steps keep hand tools safe to use?
A: Inspect tools before each use for cracks, chips, loose or splintered handles, worn or rounded jaws, damaged cutting edges and compromised insulation. Clean tools of debris, rust and oil; sharpen blades and regrind struck faces where appropriate; tighten or replace loose fasteners and handles. Tag out and remove damaged tools from service and dispose or repair per manufacturer guidance. Store tools in dry, organized locations to prevent damage and perform scheduled maintenance checks to extend service life and reliability.
Q: Which unsafe practices with hand tools cause the most injuries and how can they be corrected?
A: Common unsafe practices include using the wrong tool for the job, using damaged or dull tools, applying excessive force or using cheater bars, holding work with hands instead of clamps, and carrying tools in pockets or unsecured. Correct these by selecting the proper tool, maintaining sharpness and condition, using clamps or vises to secure work, applying controlled force and using tools within rated limits, wearing appropriate PPE (gloves, eye protection), and following workplace tool control procedures like daily checks and proper storage. Training and enforcement of safe work methods reduce repeat incidents.